Customised PiBow case for Raspberry Pi + PiJuice + PiTFT
I recently setup a PiHole for my home network. I’m using a Raspberry Pi 3B+ with a PiJuice and a 3.5 inch PiTFT screen. Finding a case to fit all these was a little tricky. I don’t have a 3D printer (yet) and the tall cases I could find were a bit ugly.
I ended up using a PiBow case designed for PiTFT and made a couple modifications to get it to work with the PiJuice. I’m pretty happy with the result and wanted to share it.
What I used
Links are to where I purchased.
- Raspberry Pi 3b
- PiJuice
- PiTFT 3.5”
- PiBow PiTFT+ case
- PiBow Lego base (optional)
- 3x PiBow expansion layers
- Longer PiBow screws
- Some M2.5 washers, standoffs, and screws
The build
Before starting, be sure to remove the protective film from each of the layers of the PiBow. I put this all together with the film attached and had to redo the whole thing. 🤦 Fortunately this gave me the opportunity to take photos of the process.
Here’s the mess of stuff I started with.

Mount the PiJuice on the raspberry pi with Layer 3 of the PiBow in-between. Use the nylon standoffs and screws that come with the PiJuice.
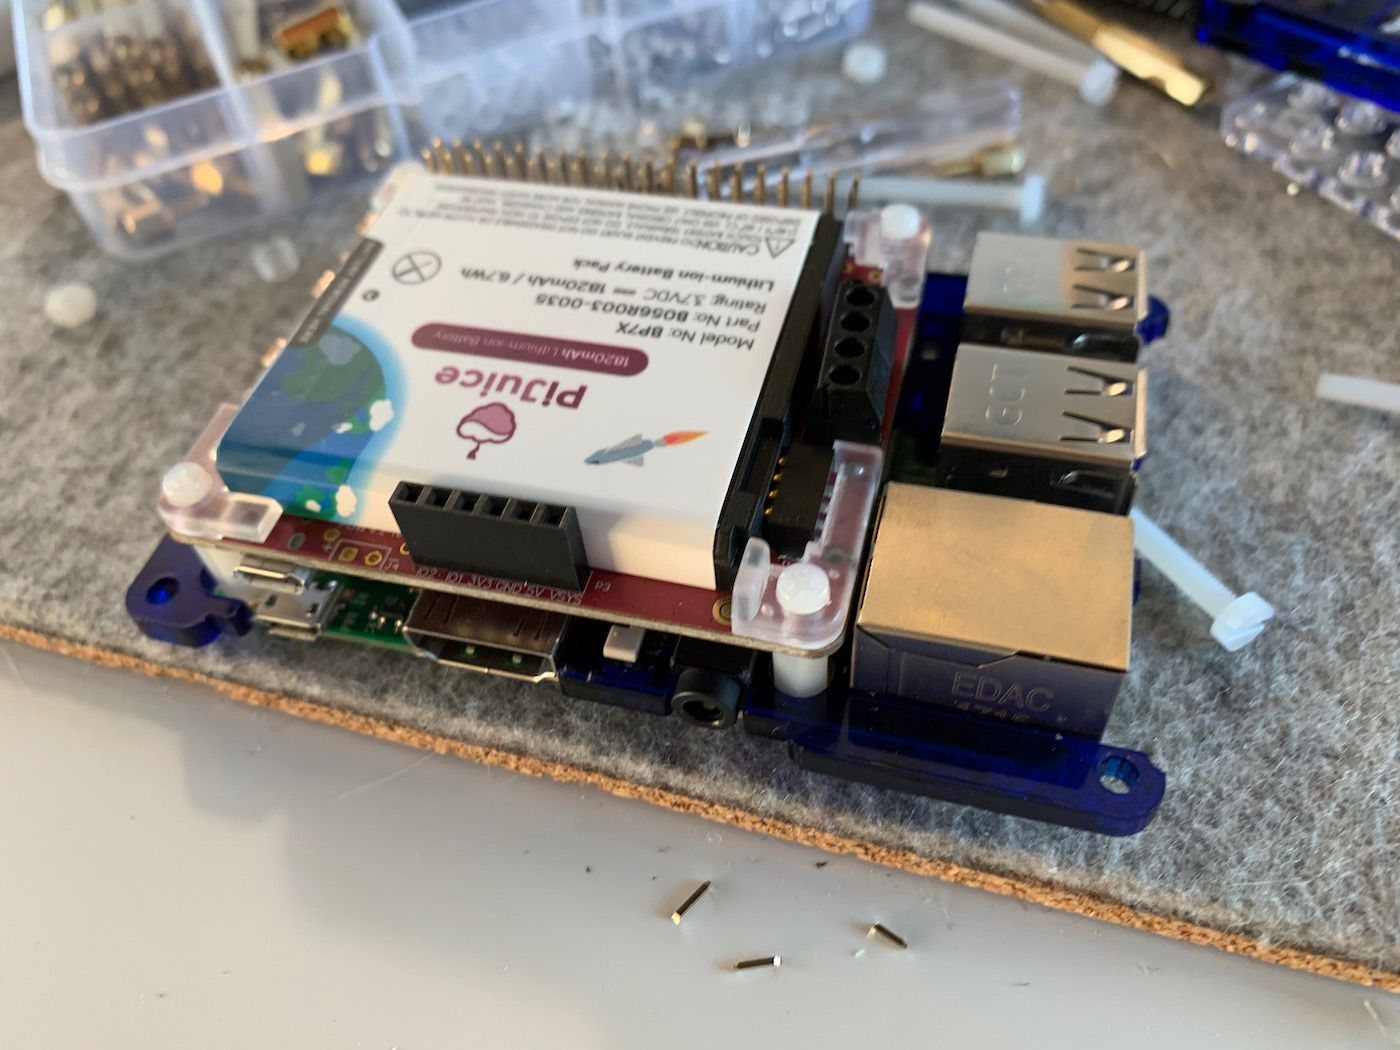
Turn the Pi over and use 5mm stand offs to secure the PiJuice to the Raspberry Pi.

On the PiBow layers you’ll see numbers etched on the tops. Add layers 2, 1, and the base. I have the Lego PiBow base but the regular base will work too. Be careful to put the Lego base the right way up or it won’t work.


Secure the base using the extended PiBow bolts in the corners and use M2.5 screws going into the standoffs to secure the Raspberry Pi and PiJuice.

Rather than using layers 4, 5, 6, and 7 that come with the PiBow kit, we’ll use 4 nylon washers on each corner bolt. Because of the buttons and power socket on the PiJuice I couldn’t use the standard PiBow layers that normally surround the Raspberry Pi HDMI and power ports.

Now add layer 7 and three clear expansion layers. These layers will surround the PiTFT.

For the PiTFT to fit on top of the PiJuice I had to carefully clip the 26 pins on the back of the screen.

Finally I used layer 9 and secured it all using the nylon bolts.

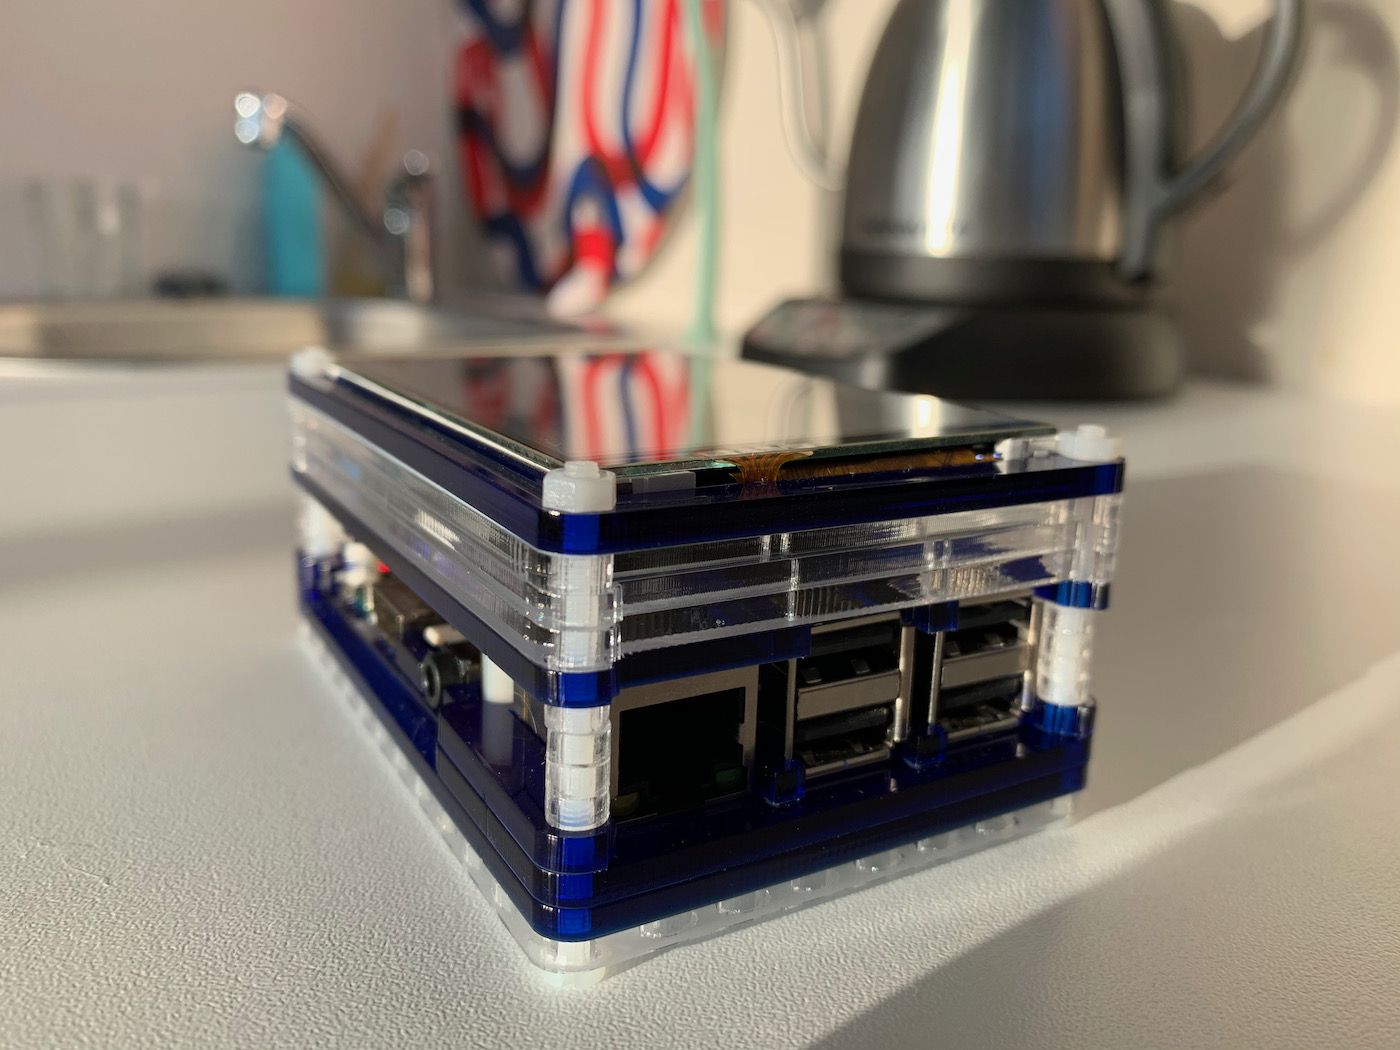
Done!
That’s it! Pretty good looking if I say so myself. :) Especially running with no cables and PADD on the display.


Here’s the PiHole running. To mount the Pi I attached a flat piece of Lego to the wall in my utility closet using some removable adhesive strips.

I may find some slightly longer bolts in the future because I’d like to add the last clear layer included in the PiBow kit. The extended bolts weren’t quite long enough.
Questions? Comments? Post a message below or ping me on twitter.
Meta
- Author: Piet van Zoen
- Published:
- Permalink: piet.me/blog/customized-pibow-case-for-raspberry-pi-pijuice-pitft
- Source: ./notes/2020-12-27-customized-pibow-case-for-raspberry-pi-pijuice-pitft.md
- Tags: tinkering
- Syndication: